Digital Image Correlation

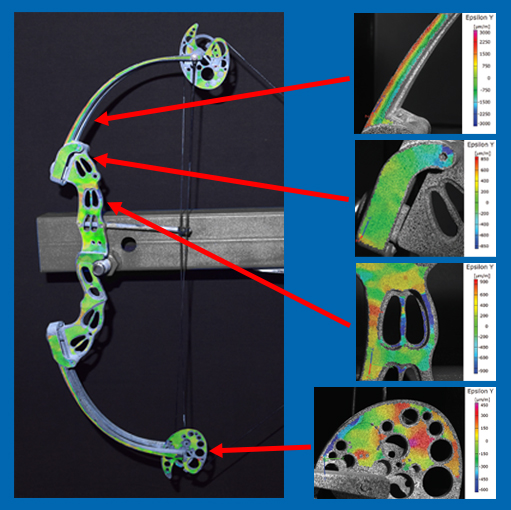
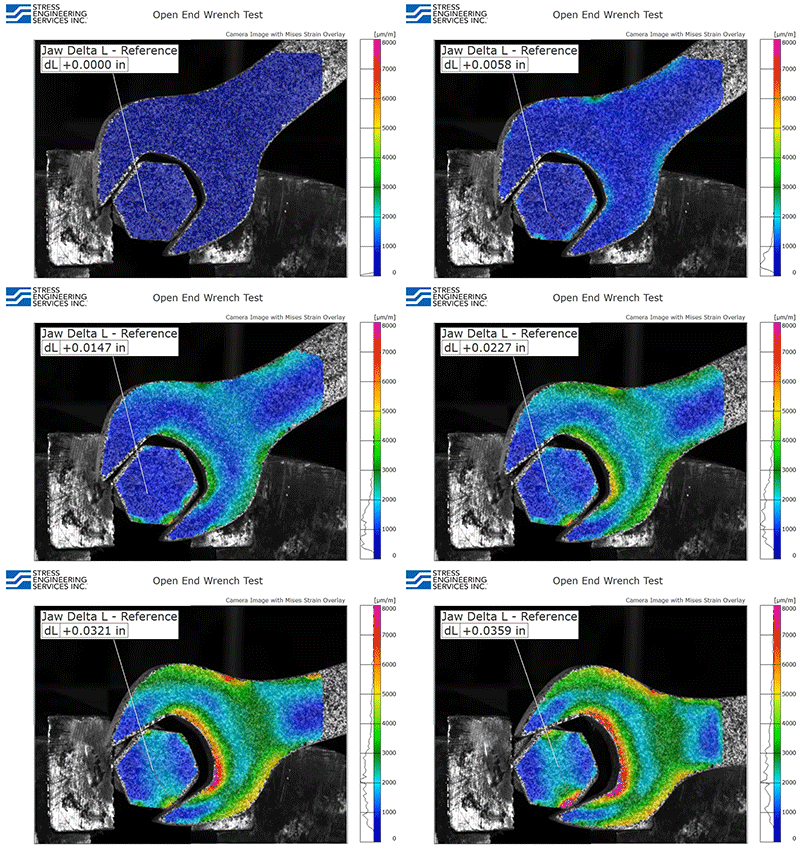
Stress Engineering Services uses Digital Image Correlation (DIC) to monitor and measure three-dimensional full-field deformations and strains. This non-contact optical technique can measure displacements and strains on almost any material with high accuracy. Our DIC system can be used to supplement or replace large numbers of strain gauges and other measurement devices used in full-scale testing programs.
How Does Digital Image Correlation Work?
Digital Image Correlation is a 3D, full-field, optical technique to measure deformation and strain on almost any material via tracking of grey value patterns. A stochastic pattern is applied to the surface of the test article. Two cameras are then used to capture images of the test article before, during, and after the testing process. Advanced software then calculates the movement of the unique surface patterns and determines the 3D surface coordinates by using stereo-triangulation.
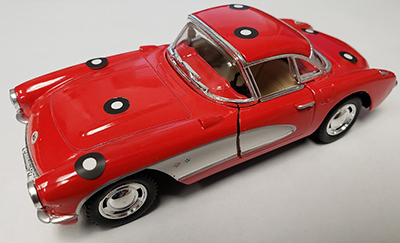
Digital Image Correlation can also be utilized for discrete point tracking. Discrete target dots are placed on the object and the system tracks the location of the dots using the same technique used for the stochastic pattern tracking.
The Digital Image Correlation software can output the following point tracking measurements in 6 degrees of freedom:
- Displacement
- Velocity
- Acceleration
Our Digital Image Correlation System Specifications
- 12 Megapixel Image Sensors @ 25 Frames per second (FPS)
– Higher FPS is possible with reduced resolution
– High speed cameras can be utilized for rates from 500 to over 100,000 FPS, with reduced resolution - Calibrated measurement volumes ranging from 180mm W x 130mm H x 130mm D (7” x 5” x 5”) to
750mm W x 610mm H x 610mm D (29.5” x 24” x 24”) typically used for testing
– Smaller and larger calibrated volumes 25mm3 to 4.25m3 (1in.3 to 14 ft.3) are also available - High strain measurement capability, beyond 50% (500,000 µe)
– 50-100 µe Accuracy - Verified 3 micron (0.0001 in.) displacement accuracy with 180mm W x 130mm H x 130mm D (7” x 5” x 5”) measuring volume, to 30 micron (0.0012 in.) displacement accuracy with 750mm W x 610mm H x 610mm D (29.5” x 24” x 24”) measuring volume.
Digital Image Correlation Example Uses
- Measuring deformations, strains, and surface contours on material surfaces with complex geometries
- Use in conjunction with our test labs with full scale and sub-scale testing capabilities to provide accurate full-field strain and displacement data- Higher FPS is possible with reduced resolution
– Analog inputs from measurement devices such as load cells and pressure transducers can be recorded along with the strain data, allowing for quick and easy comparison of strain and displacement data to the applied loading conditions. - Extreme strain applications that typical strain gages cannot measure
– Typical strain gages are limited to 5% strain, whereas the Digital Image Correlation system can measure 50% strain and beyond. - Comparing full-scale test results to FEA models
– The full-field strain data allows for a better comparison to FEA than standard strain gages. Placing the strain gages at the exact location of maximum strain is typically improbable, whereas the full-field data captures the maximum strain regardless of the location within the measured area. - Target dots placed on objects to measure large displacements and motion
Digital Image Correlation Testing Integration
We have the following capabilities at Stress Engineering Services that we use in conjunction with DIC:
SES On-Demand Webinars
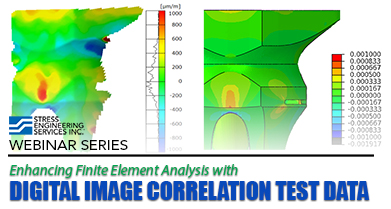
Enhancing Finite Element Analysis with Digital Image Correlation Test Data
Presenter: Matthew Sanders, PE
Previous Project Examples
Pipeline Dent Pressure Test
Thin Wall Pressure Vessel Dent Strain Profile
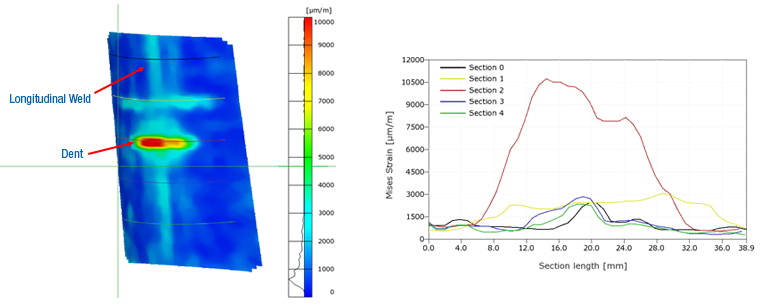
Additive Manufactured Component – Compression Test with FEA Comparison

